Blog
How to Install Cabinet Handles with New Screw Holes

[vc_row][vc_column][vc_column_text]Looking to update tired kitchen cupboards, an old cabinet or dresser? Maybe you’re renting and want a temporary and stylish fix that’s both easy and affordable?
Changing the whole look and feel of a space can be as simple as replacing your cupboard handles. The best part is that it doesn’t take long at all!
Whether you’re replacing old hardware or installing a different style on cabinets that require new screw holes, it is the same seamless process. Watch our demonstration video or follow the simple step-by-step instructions below.
Note: Installing a cabinet knob or cupboard handle that doesn’t require new screw holes? Click here.
WATCH OUR SIMPLE DEMONSTRATION VIDEO:
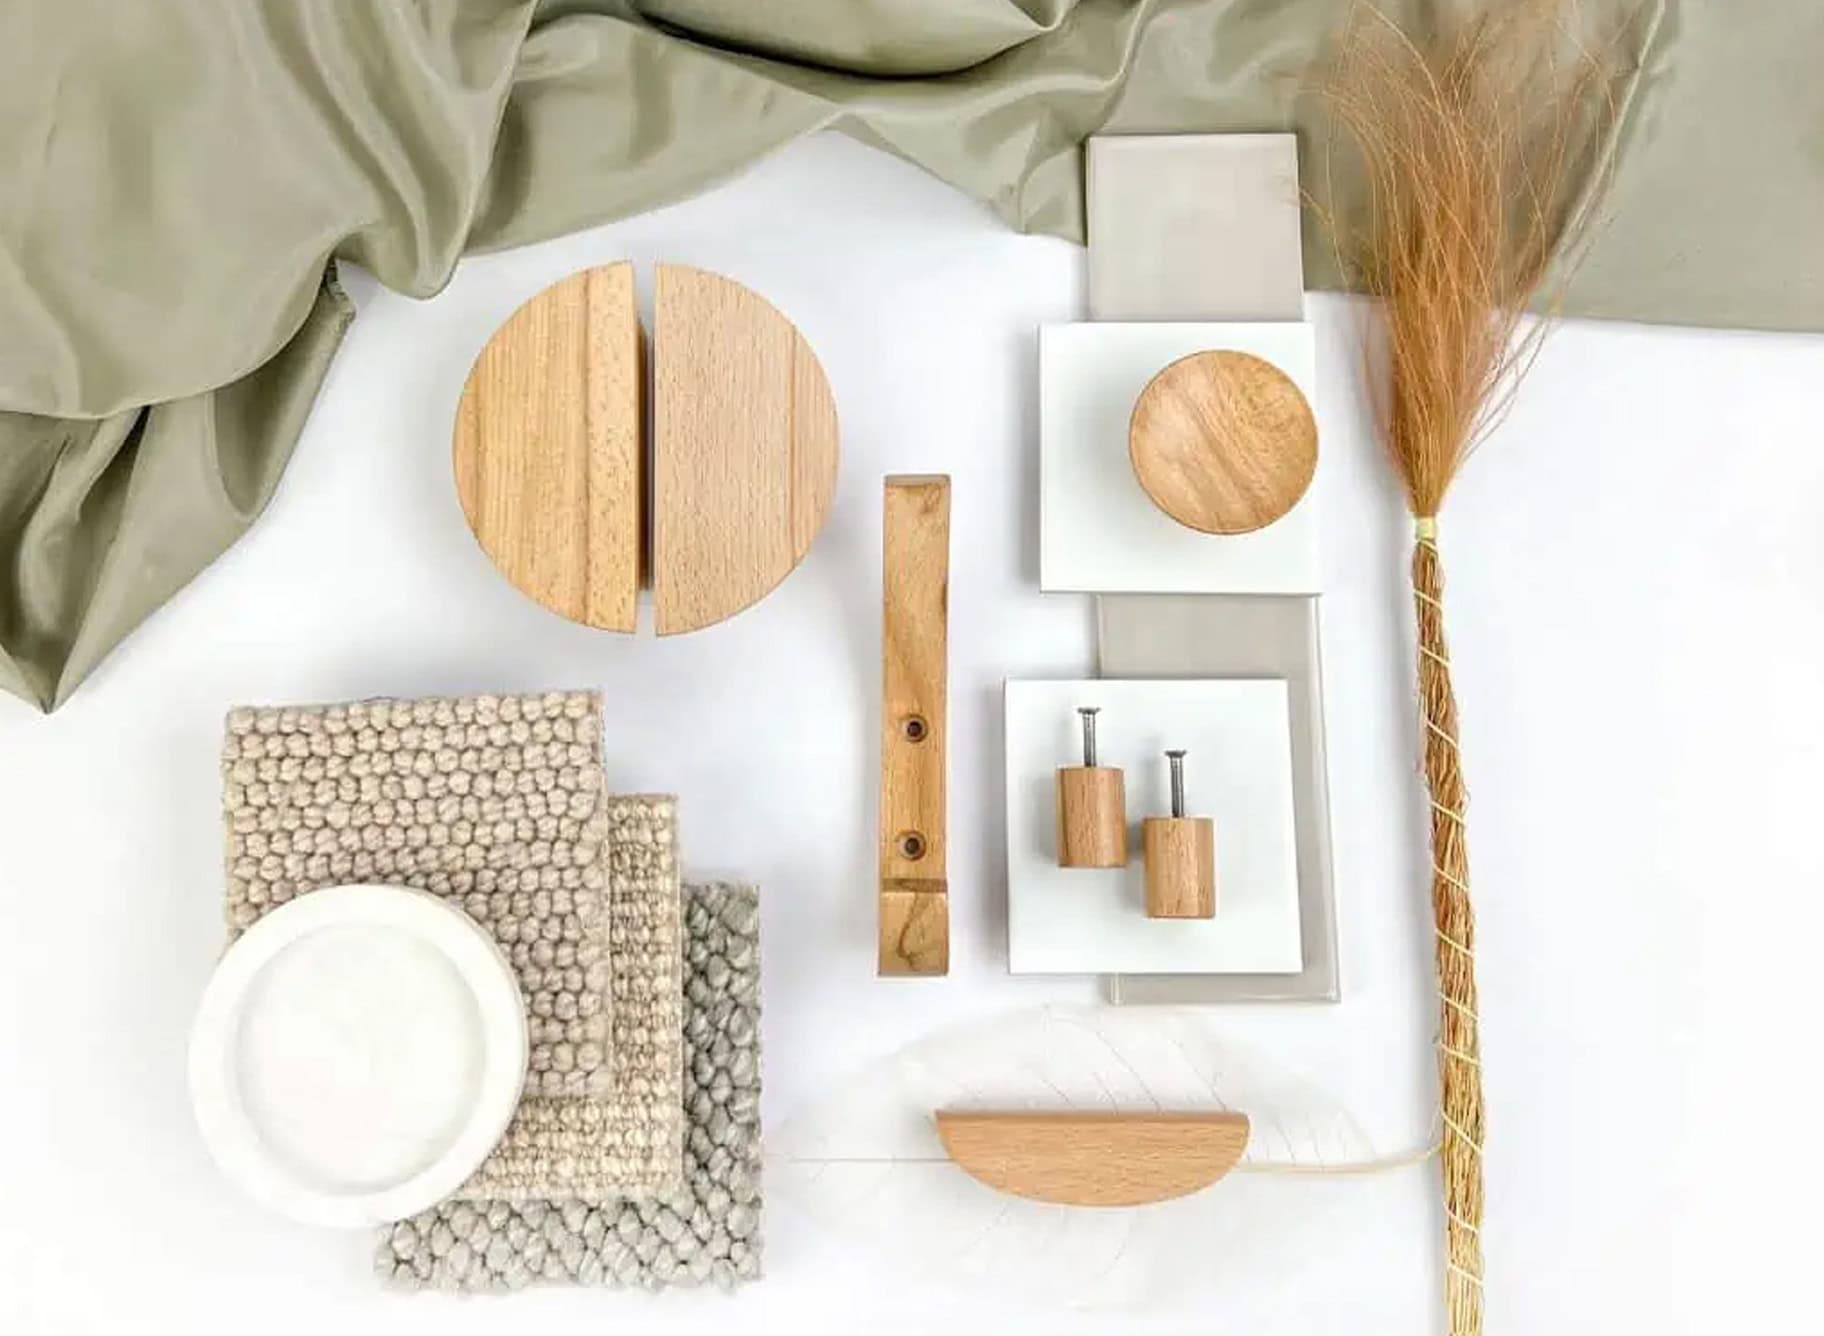
What you will need
> Flat screwdriver – if removing old hardware
> Wood filler – we recommend Timbermate
> Metal scraper or butter knife
> Piece of cardboard (optional)
> Clean cloth or paper towel
> Ruler or measuring tape
> Pencil
> Spanner (optional)

STEP 1: Patch old cabinet holes with a wood filler that matches the finish of your cabinet.
TIP: For best application, we recommend mixing your chosen wood filler with a little warm water to form a paste.

STEP 2: Using a metal scraper (or butter knife), apply your paste over the old cabinet holes until they are completed covered.

STEP 3: Using either a piece of cardboard or a metal scraper, swipe upwards with a strong hand. Remove any excess filler with a clean cloth or paper towel.
TIP: For best results, leave paste to dry for a minimum of 4 hours.

STEP 4: Once dry, gently sand any remaining residue to ensure a super soft surface.

STEP 5: Using a ruler or measuring tape, measure the distance from centre to centre of the new handles’ screw points.

STEP 6: Now, measure and mark with a pencil the new screw hole locations on your cabinetry.

STEP 7: Using a power drill, go ahead and drill the marked screw hole locations.
TIP: Hold cabinetry firmly with your other hand for support

STEP 8: Insert your cabinet handle into the new screw holes.

STEP 9: Secure the back with a metal washer. Bolt and tighten the fastening with your hands or a spanner.

And you’re done!
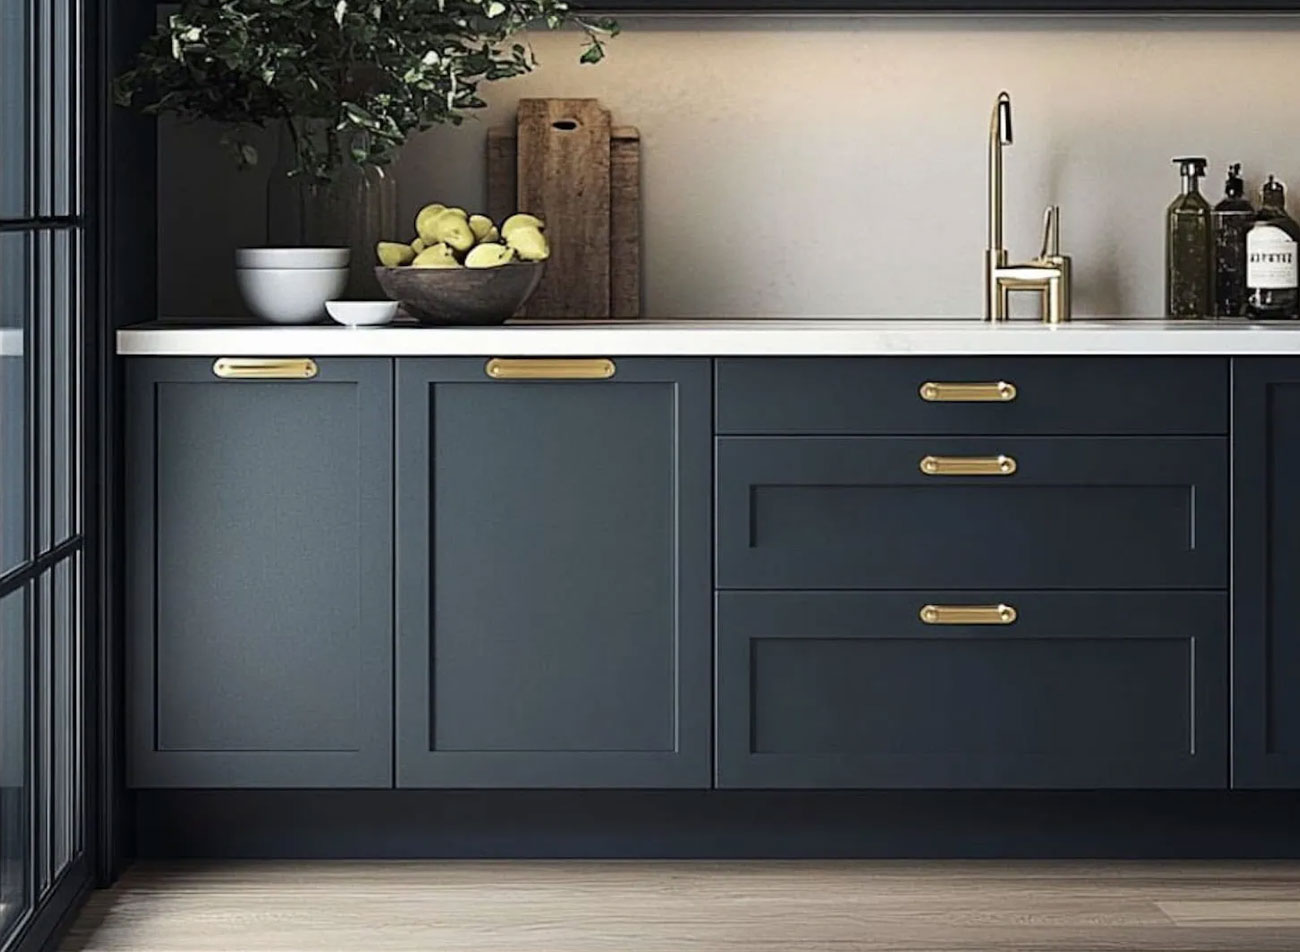
As you can see, you don’t have to be a DIY professional to update your cabinet hardware and instantly transform your spaces at home! Install new cabinet handles with ease!
BEFORE…

AFTER…

Featured Drawer Handle: GOLD IRON CYLINDER HANDLE
We LOVE seeing your Do.Up. creations so please tag or share them with us – @do.upper
Happy installing![/vc_column_text][/vc_column][/vc_row]