Blog
How to Install Cabinet Knobs, Cabinet Handles & Pulls

[vc_row][vc_column][vc_column_text]Over time, the cabinet hardware in your home, whether it be kitchen handles, drawer knobs or cupboard pulls, may need a style update. Replacing old handles and knobs with new ones can make a huge difference and instantly transform your cabinetry!
With our huge range of unique, hand-crafted and budget-friendly cabinet hardware, there is something to suit everyone’s style. You won’t have to break the bank to get that new look either – win, win!
So how do I install my new cabinet hardware you ask? Simple!
Whether you’re replacing old hardware or installing a different style on new cabinets, it is the same seamless process. Watch our demonstration video or follow the simple step-by-step instructions below.
Note: these same instructions apply for installing cupboard handles or pulls also.
Watch our simple Demonstration Video:
What you will need
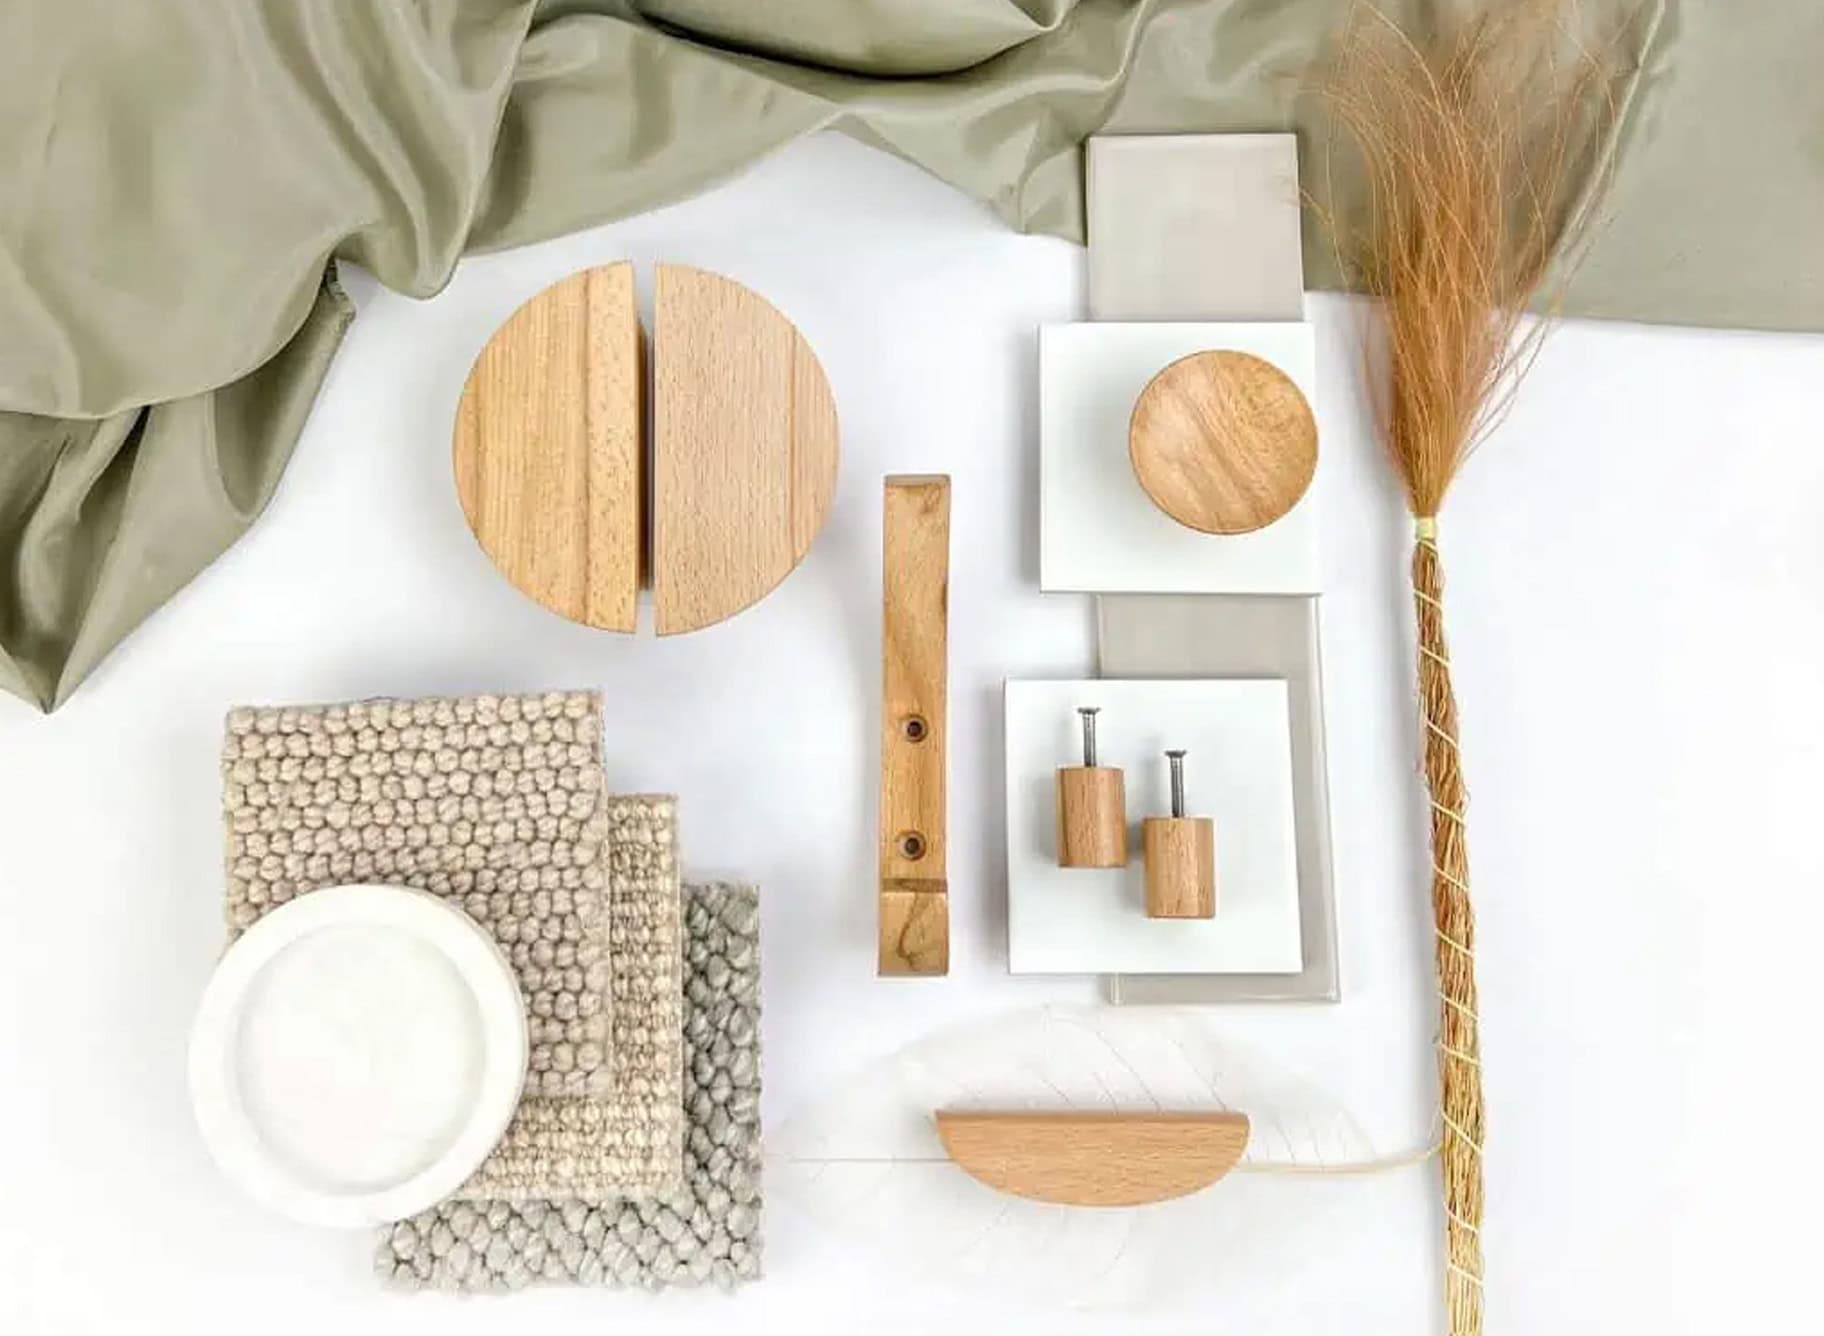
> Your cabinet knob/s of choice
> Screwdriver
> Pencil
> Template or piece of cardboard
> Power drill (if creating new screw holes)
> Spanner
STEP 1: Remove the old cabinet knobs
If you are replacing cabinet knobs, you’ll need to first remove the old knobs.
> Use a screwdriver to remove each cabinet knob’s fastening screw. These are usually found on the back of the cabinet door


Can’t reuse the existing screw holes?
> Patch the old holes with a wood filler that matches the finish of your cabinet. Paint over or refinish the patched holes as needed.
OR
> If you’re switching from a pull to a knob for example, you can hide old holes or damaged surfaces with backplates.
STEP 2: Measure and mark locations for new cabinet knobs
Note: If you’re replacing cabinet knobs and can reuse the existing screw holes, you can skip step 2 and 3, and simply insert the new fastening screw into the hole and tighten the knob into place.
> If you are creating new screw holes, measure and mark the new screw hole locations with a pencil
TIP: If you’re not sure where to place your knobs, stick a piece of reusable putty adhesive to the hardware and try out different spots. Using a pencil, mark the location you like and install the rest of the hardware accordingly. You can pick adhesive up from your local hardware or art supply store.

> If you are installing more than a few knobs, we recommend using a template to make the job not only faster, but to ensure uniformity across the cabinet set. You can even make your own using a piece of cardboard.
How? Assume the corner of the piece of cardboard is the corner of the cabinet door, then mark the screw hole locations accordingly. Like up your cardboard with the cupboard door and poke a nail through to start the screw holes on the door.

STEP 3: Drill Holes
Note: Most cabinet screws need a 4mm diameter hole, so use a power drill with a 4mm twist to create your new screw holes.
Unsure of the size? Simply drill a test hole into a piece of scrap wood to test whether the fastening screws will fit.
> To avoid drilling into the cabinet frame, hold the cabinet door open with one hand as you drill or prop it open with a towel.
> Using your power drill, go ahead and drill the door at the marked screw hole locations


STEP 4: Install New Cabinet Knobs
You’re almost there! Here’s how to install your cabinet knobs (or handles and pulls) correctly:
> Insert the knob into the screw hole and secure back with the metal washer
> Add the clear rubber washer (optional) then bolt and tighten the fastening with a spanner
> Make sure not to over-tighten, as this can crack your cabinet door or break your knobs
Note: If you need to shorten your bolt, trim with a bolt cutter. Click here for step-by-step instructions
> If installing more than one, repeat process for each knob


And you are done! What a big difference a little beautiful hardware can make.
As you can see, you don’t have to be a DIY professional to update your cabinet hardware and instantly transform your spaces at home! Install new cabinet knobs and handles with ease.
BEFORE…
AND AFTER!
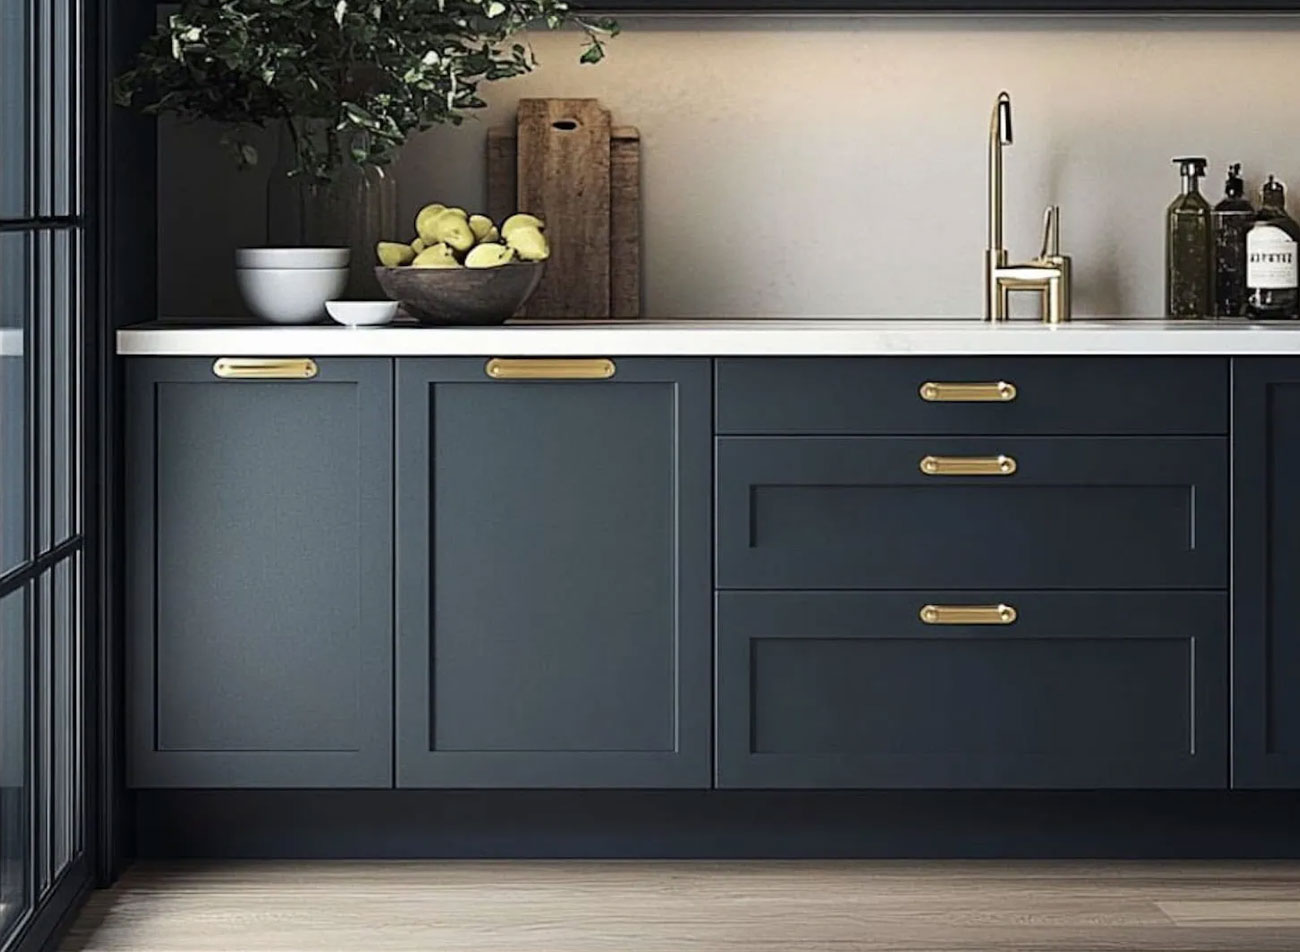
Featured Drawer Handle: RATTAN HANDLE
We LOVE seeing your Do.Up. creations so please tag or share them with us – @do.upper
Happy installing![/vc_column_text][/vc_column][/vc_row]